

Introduction
Posecam is a camera filter application designed to showcase real-time filter effects while users capture selfies using hand gestures such as the “V,” thumb, and metal poses. The displayed filter result features an emoticon with glasses, and its shape mimics the user’s hand pose when in front of the camera.
To enhance the accuracy of the glasses emoticon’s shape, the application is directly integrated with the TensorFlow Lite object detection model. This integration aids in precisely determining the shape of the glasses emoticon based on the user’s hand pose. Furthermore, for precise placement of the glasses emoticon at the user’s eye position, the application utilizes the output of the CV2 cascade classifier to detect the user’s face’s position. This ensures that the glasses emoticon appears as if the user were wearing glasses in real life.
In this content, I will elaborate on the process of developing the Posecam application. The application was created as part of my final exam project for the Intelligent System Applications course, aiming to fulfill the project requirements.
Collecting and Labeling Photos for Model Training
In this process, I gathered several selfie photos, capturing 10 images for each pose — V, Thumb, and Metal. Additionally, I requested my friends to contribute by taking 10 photos for each pose as well. Once all the photos for the dataset were compiled, I initiated the labeling process using Roboflow. Initially, I uploaded the images, and then proceeded to the photo labeling stage. I personally labeled a portion of the total 102 photos, while the remaining images were labeled with the assistance of my group friends. In the labeling process, I included several classes such as posev, thumb, and metal.

After completing the labeling process, I generated the results into an XML file. Prior to this, I performed several configurations, including resizing the photo dimensions to 516 x 300 and enabling the data augmentation feature to augment the dataset, thereby preventing potential overfitting of the model.

After generating the entire dataset, it totaled 246 images, divided into 216 training images, 20 validation images, and 10 test images. Below is an image of the extracted zip file.

The next step involved creating a new folder named “datasets.” Subsequently, I transferred all files from the “valid,” “train,” and “test” folders into the “datasets” folder. Following this, I created a WinRAR zip file named “images” and placed the “datasets” folder inside the “images” zip.
Training Object Detection Model
I conducted the model training on Google Colab. Initially, I uploaded the .ipynb file from https://github.com/ekawirawan/hand-pose-recognition/blob/main/create_custome_model_tflite.ipynb. I obtained this file from a tutorial on the Edje Electronics YouTube channel.

I executed several code blocks, following the steps outlined in the video tutorial, up to the point of uploading the zip file containing images into the Google Colab environment. Challenges arose during the “create tfrecord” step, as the generated tfrecord file had a size of 0 kb. In search of a solution, I found that the issue lay in the mismatch of the xml file format with the desired format. Specifically, the presence of `<occluded>0</occluded>` was not in line with the expected format. To address this, I decided to re-label using LabelImg, a tool recommended by the source I consulted. The re-labeling process was similar to the initial labeling, with the key difference being the deletion of the xml files from the datasets folder that had been created earlier.

After completing the re-labeling process, I re-packaged the datasets folder into the “images” zip file. Subsequently, I cleared the session on Google Colab and re-ran all the code for the previous training. Finally, the tfrecord file was generated successfully, and the training process could proceed. I trained the model for 40,000 epochs, requiring approximately 5 hours for the entire training process. During this process, a significant amount of storage quota was consumed. The choice of 40,000 epochs was made with the expectation that the model would achieve a high level of accuracy in its output.


After the completion of training, the output is obtained in the form of a zip file. This file will be utilized to detect hand poses in the Posecam application.

About Making User Interface In Streamlit
It’s time for us to move on to creating a user interface using the open source streamlit framework. However, before we start building the user interface using streamlit, we first ensure that all configurations have followed the steps according to the readme https://github.com/ekawirawan/hand-pose-recognition in the Run Localy section. In this part we’re planning to create 4 (four) website pages, such as the home page, camera filter, data set, and about us,
First of all we decided to create a home page first. We added a set page config by setting the page title to “home” and adding a camera icon 📸. After that, we continued to create the home page layout, we made the layout have 2 columns, the 1st column will contain the opening text and contain link buttons that can direct to the main features, while the 2nd column contains images that are using our app to take selfies. To realize this column we use code as below :
col1, col2 = st.columns(2)
with col1:
with col2:
After we finished creating the column and the content in it, we thought that there was an empty section at the bottom of the previous column. Finally, we added content that displays an image that is almost similar to the image in column 2 so that the empty part is filled in like the image below.
Next, we’re continue to create a page to display the examples of dataset images, as the name suggests this page will display several data sets that we use when training the model. On this page we need a bit of logic to create a kind of image slider. The first thing we have to do is load the image in the local directory using the help of the OS. An interactive web for users is our hope, so we decided to create a select box using st.selectbox() which is based on the contents of the datasets directory.
The purpose of this select box is for users to be able to select the dataset they want to display, such as training, validation, testing datasets, or displaying the entire dataset. Here we also make the next and previous buttons resemble sliders.
Next, we’re created a Filter Camera page whose content contains the main features of our website. First, we prepare the configuration of the streamlit webRTC which will later be used as a camera that can return frames in real time. This frame will later become input for the TensoFlow Lite model so that it can output hand pose predictions, such as boxes, classes, and scores. Here is the streamlit webRTC configuration :
webrtc_streamer(
key="object detection",
mode=WebRtcMode.SENDRECV,
rtc_configuration={"iceServers": get_ice_servers()},
video_transformer_factory=VideoTransformer,
media_stream_constraints={"video": True, "audio": False},
async_processing=True,
)
We also need to create a VideoTransformer class which will later be used as a video_transformer_factory parameter, simply like this:
class VideoTransformer(VideoTransformerBase):
def __init__(self) -> None:
self.out_image = None
def transform(self, frame: av.VideoFrame) -> np.ndarray:
out_image = frame.to_ndarray(format="bgr24")
return out_image
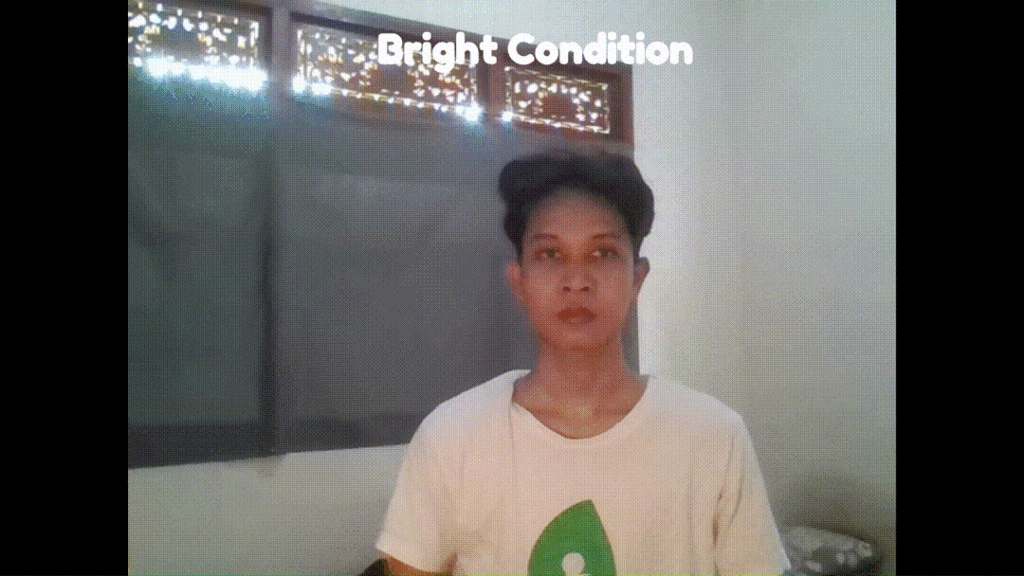
After that, we’re created code to load the TensorFlow Lite and Labelmap models that had been downloaded previously at the model training stage. We call the set_tensor method to enter input data in the transform() method of the VideoTransformer() class, but before entering the input data that comes from the frame, we carry out frame processing such as converting the frame to ndarray, resizing, and many more. To display the model prediction results into the camera, we use cv2.rectangle() to display the boxes and cv2.putText() to display the classes and scores in real-time on the camera display. Next is the stage of providing hand pose glasses emotes based on the prediction output from the model. So that the visible position of the emote matches the position and shape of the face of the person taking the selfie, in this condition we need help from face cascade to predict the position of the face. After that, the hand pose glasses emote that matches the class of the model prediction will appear on the camera display using the help of cv2. Apart from that, we also created a snapshot feature so that people taking selfies can take pictures of themselves. However, now there is a problem, namely that the image resulting from the snapshot is only temporary or after the user exits the Camera Filter menu, the image will disappear, for this reason a supporting feature is needed so that the image can be saved locally by the user.
The supporting features that we’ve created is downloading snapshot images. Here we need a cloud service to store the image. The solution we came up with was to use Firebase.
About Deploy In Streamlit Community
The final step in our application process involves deploying it to the Streamlit Community. Upon visiting https://share.streamlit.io/, we log in and authorize GitHub to grant access to projects within our GitHub repository for the Streamlit Community. Following that, we proceed to fill in information such as the repository, app URL, and other details on the deployment page, which can be accessed by clicking on “New app”.
Additionally, we completed the Advanced Settings section within the Secrets section, incorporating the secret previously created in secret.toml.
TWILIO_ACCOUNT_SID = "..."
TWILIO_AUTH_TOKEN = "..."
[firebase]
my_project_settings = {  "type" = "...",   "project_id"= "...",   "private_key_id"= "... ",   "private_key"= "...",   "client_email"= "...",   "client_id"= "...",   "auth_uri"= "...",   "token_uri"= "...",   "auth_provider_x509_cert_url"= "...",   "client_x509_cert_url"= "...", "universe_domain"= "..."}
The concluding step is to click the “Deploy” button to initiate the immediate deployment of the project. Following a brief wait for the installation of dependencies, our application is successfully online.
However, our deployment process doesn’t conclude here. When we accessed the Camera Filter page, we encountered an issue — specifically, cv2 failed to import. After extensive troubleshooting, we identified a solution: replacing “opencv-python” with “opencv-python-headless” in the requirements.txt file. Subsequently, we updated the code repository and restarted the app using the “Manage App” option. Once the reboot process was finalized, we revisited the Camera Filter page, and as anticipated, the main feature ran smoothly.
The knowledge gained through the completion of the project
- Gaining insights into the mechanics of machine learning, including mastering the art of curating datasets.
- Developing proficiency in experimenting with various machine learning models to enhance practical experience.
- Crafting solutions to ensure the model’s output aligns seamlessly with predefined objectives.
- Acquiring knowledge in utilizing, understanding the functionality, and configuring HaarCascade.
- Building hands-on experience in creating applications seamlessly integrated with machine learning models.
- Grasping the nuances of utilizing the Streamlit framework to construct user interfaces in Python.
- Mastering image processing techniques with OpenCV in Python.
- Delving into the extensive usage of external libraries within the Python ecosystem.
- Exploring the integration of Firebase as a cloud storage service for storing and managing images.
- Learning effective strategies for remote collaboration with a team using GitHub.


